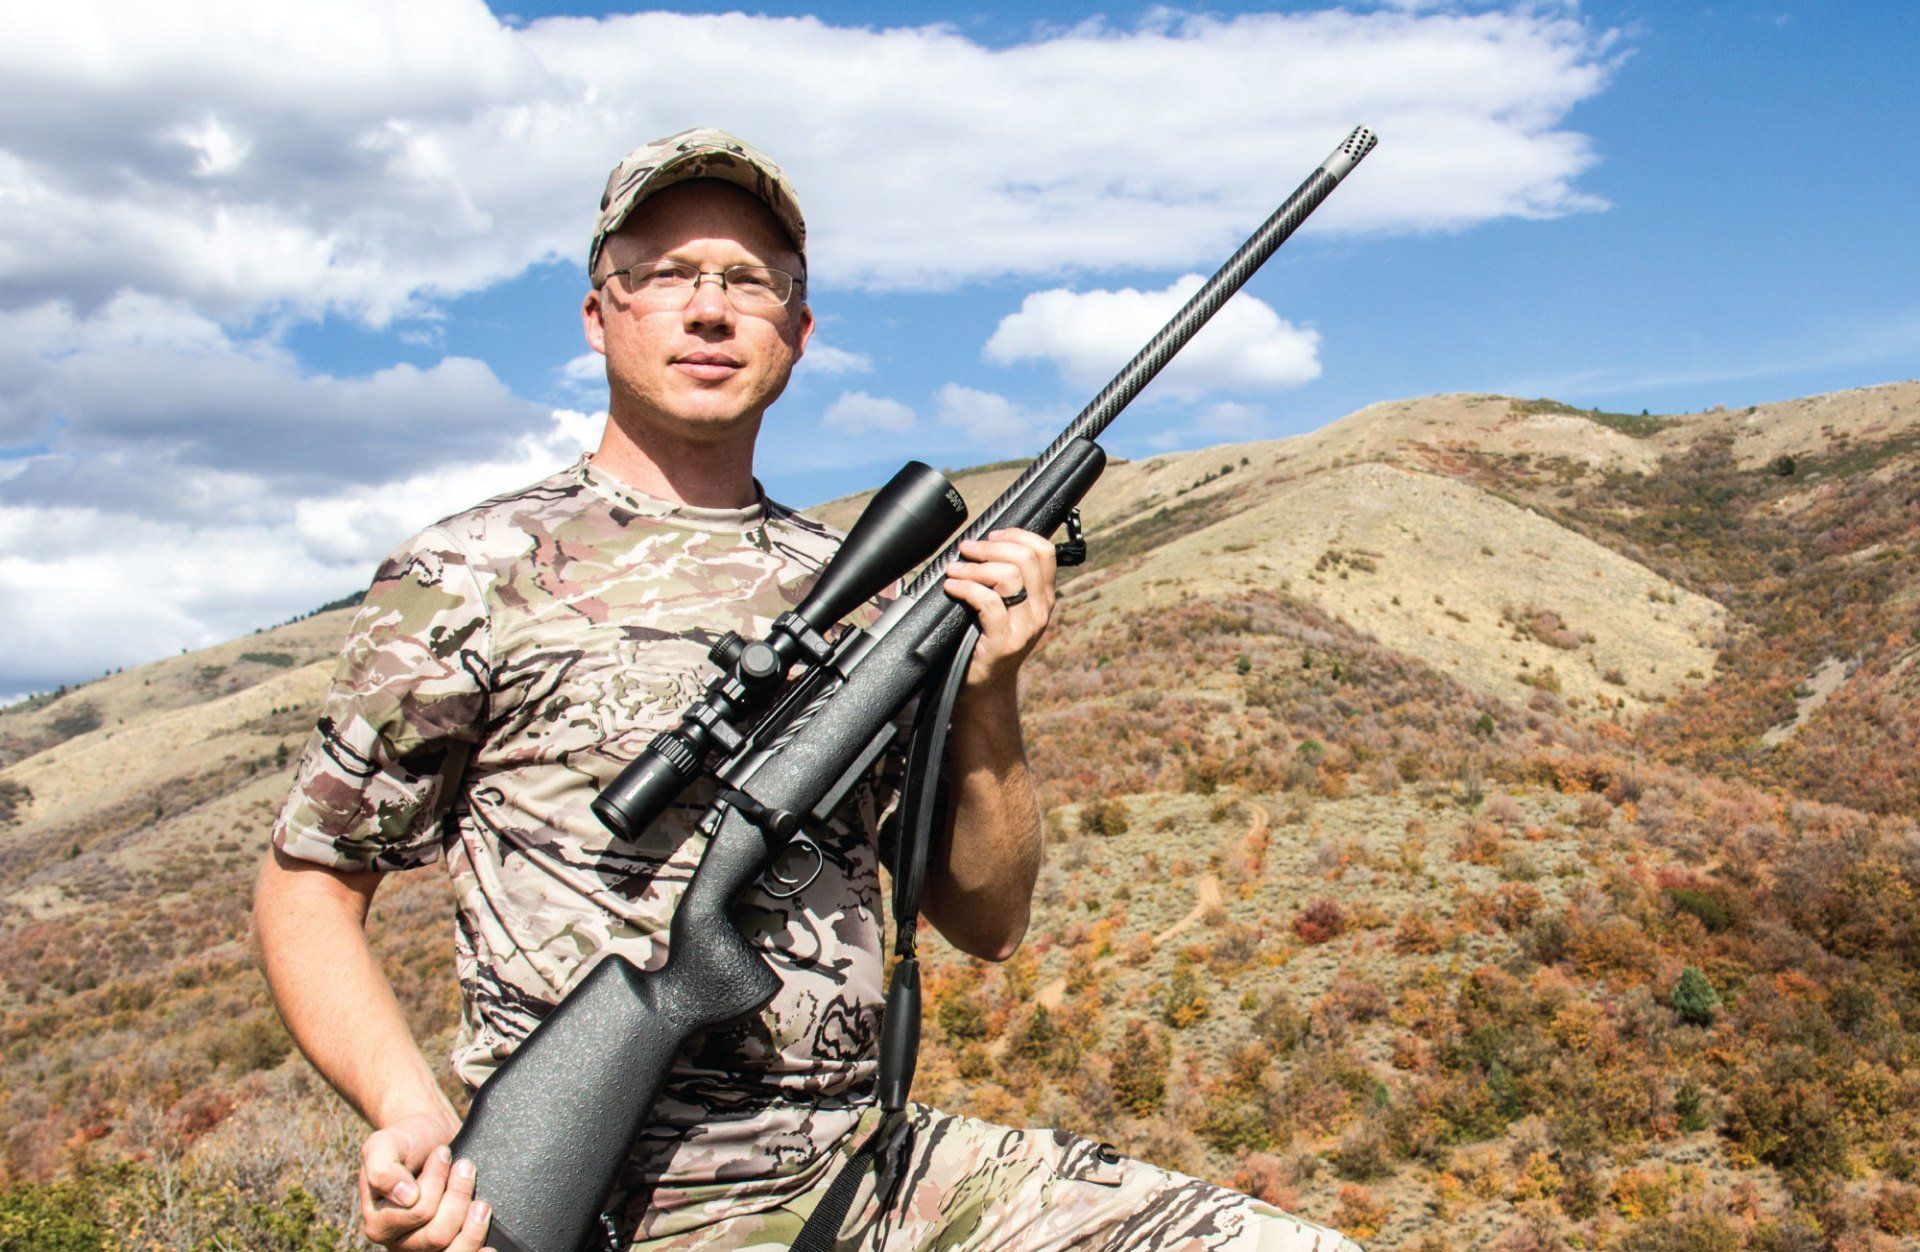
RELOADING MATCH AMMO
- By Eric Smith
- •
- 06 Nov, 2018
- •
HOW DO I RELOAD?
This is a tool listing for what I use:
Dillon XL 650 http://www.dillonprecision.com/
Dillon RF-100 Primer Filler http://www.dillonprecision.com/
Whidden Floating Die Tool Head x 2 http://www.whiddengunworks.net/
Redding Type S FL Bushing Die http://www.redding-reloading.com/
Redding Competition Seating Die http://www.redding-reloading.com/
K&M Expanding Iron w/window riser http://www.kmshooting.com/
K&M Taper Reamer http://www.kmshooting.com/
RCBS Auto Prime Tool http://www.rcbs.com/
Giraud Case Trimmer http://www.giraudtool.com/
Satern Powder Funnels http://saternmachining.com/
Sinclair Hex Nut http://www.sinclairintl.com/
Imperial Sizing Wax http://www.redding-reloading.com/
Sinclair Polymer Loading Blocks http://www.sinclairintl.com/
Starrett Calipers http://www.starrett.com/
Micrometer Case Gauge http://www.whiddengunworks.net/
Denver Instruments Scale 208 (no longer made)
Prometheus Powder Dispenser (No website)
***I want to start by saying much of the equipment I use is very expensive and not necessarily required for making great match ammunition. I own a lot of it in order to speed up the process of loading. I shoot thousands of rounds a year, and I generally will load 800-1000 at a time. It was taking me forever when I loaded with a single stage press and RCBS Chargemaster. To me the time was worth the money.***
The first step for me is prepping my brass. I always Full Length size, both with new and fired cases. I do my sizing as its own process on a Dillon 650. I have a Whidden Floating Tool Head set up with both an expanding mandrel and a sizing die. The floating dies allow for the die to center on the case and helps decrease run out. Because new brass generally has a lot of neck tension, I will use an expanding mandrel from K&M to open the neck up a little bit so that the sizing die has an easier time. The expanding button on the die would do the same thing, but it takes more force to do it in one process and in my experience gives less neck run out. Because I am using a Dillon with a case feeder and auto indexing, it doesn’t take any more time to do it this way. For this process I put the cases into the loading blocks and run my fingers up and down the case necks with lube on them. I then run my finger across the tops of the cases to deposit a small amount in the neck of the case. It takes a very small amount of imperial sizing wax to do this. I will go many thousands of rounds on a small tin of lube. Ill then dump the blocks out in the case feeder and cycle the cases through the mandrel and die. I use a bushing on the die that gives me about .0015 neck tension, and I set the shoulder to be .001 shorter than the chamber (normally new brass doesn’t have to be set back and it only sizes the neck). I check the shoulder set back by using a micrometer case gauge like the one from Whidden Gunworks. I like the polymer blocks from Sinclair because as they get dirty or stick from spray lube, I can throw them in the sink or dishwasher and clean them back up (don’t tell my wife I do that).
Once the brass is sized, I trim using a Giraud Case Trimmer. Then I follow up with a K&M Neck reamer. While the Giraud has a 3 way cutter, I like to use the K&M tool to re-cut the chamfer in the neck; this gives it a very gradual taper and allows me to feel the consistency of seating the round a little better.
I prime using a RCBS Auto Priming Tool and the Dillon RF-100 Primer Filler to fill the tubes. This gives me the speed I want, as well as allowing me still to feel how tight the primer pockets are and feel when the primer bottoms out. If the pockets feel loose, I will set that round aside to load for practice. I’ll throw the brass with loose pockets in the recycle bin after the next firing. I do not uniform primer pockets or ream/chamfer flash holes. I mostly use Lapua brass, but even with other brands I don’t worry about it. I also don’t weight sort brass. While these extra steps may improve accuracy a small amount, I’m not going to worry all that extra work for a possible decrease of a couple thousandths of an inch.
Now that the brass is prepped, I am going to swap tool heads in the Dillon for one with a seating die in the second to last hole. In the open space 2 before the seating die I place a Satern funnel. Because these are made caliber specific, it will stay on the neck of the cartridge when the ram is ran to the top. The powder funnel also self centers when the ram is dropped, so it will go onto the next case as the press indexes and I run the ram up again.
I use a Prometheus Powder Dispenser, but an RCBS Chargemaster works well. I’ve tested about all of automatic dispensers and the RCBS is my favorite, followed by the Lyman DPS 6. When I do small batches of ammo, I still use the RCBS. When setting the Prometheus, I use a Denver instruments scale to check the weights.
My powder charging and bullet seating setup runs like this – I cycle the powder dispenser to start the trickle. Prepped and primed brass goes in the case feeder and I cycle the press until I have a case below the powder funnel. I ram up and the funnel centers and lifts with the case. I take the powder from the dispenser (which restarts the trickle) and dump it into the funnel. As I ram down, I take a bullet and once I can verify that I see powder in the case, place it on top. This prevents powder from getting tossed out when the press indexes. I’ll have to cycle it 2 times while dumping powder and placing bullets to get the first round to the seating die. After I have seated the bullet on my first round, I verify the length with a Sinclair Hex Comparator and Starrett dial calipers. The Sinclair Comparator measures off the ogive so it isn’t affected by inconsistent bullet tips. While I am seating, I feel for inconsistencies in the amount of pressure needed to seat the bullet. If it feels different, it goes into the practice pile.
After the ammo is loaded, it goes into boxes with labels that have date, caliber, bullet, seating depth, powder (including lot number), powder weight, primer, brass (including times fired). If I am loading and it will sit for a long time before being shot, I will seat the bullet long and set back before the match. This lets me adjust for any throat erosion and it breaks any cold welding that may have happened between the brass and the bullet.
I’m not going to say this is the only or best way to load. For me it is the best way I have found to load large amounts of ammo and maintain accuracy needed to win national championships.

As soon as the announcement was made about the MDRx, I immediately started to receive emails and calls about what technical information I had on it. To make it simplier and to get this information out there, I decided to type up what I know.
In order to make sure that the aftermarket products that I make will continue to be compatible with the new system, I took a trip to Desert Tech and met with the engineer heading the MDRx project. I’m happy with the changes and looking forward to being to add a few new options to our own product line because of them.
There are now 2 versions of the chassis, Forward Eject and Side Eject. (also a compliant version that I wont go into)
The Forward Eject uses the same ejection system that the
original MDR used. The changes made to the MDRx are
- an improved polymer that is more impact
resistant.
- the trigger has had some geometry changes to the
sears and transfer bar that has reduced the amount of creep as well as has
lowered the pull weight. Also, when placed on safe, the trigger now has no
movement.
- the gas block has had a through hole added to
where the piston goes in order to aid in removing water or mud from the gas
block in the case of submersion.
- the barrels are forward and backward compatible with
the original MDR
- the addition of the 6.5 Creedmoor as well as 20
inch barrels and a compliant package.
The side eject has some substantially different changes from
the original MDR
- the polymer, trigger and gas block changes are
the same as the Forward Eject MDRx.
- gas plugs have been changed to accound for the reduced pressure needed to operate the system.
- the scissor panel and ejection chute have been
replaced with a smooth panel that has a seal around it to prevent gas leakage
and a window panel with a brass deflector like that of an AR-15.
- the bolt has been changed to an AR-15 styled
bolt head with a plunger ejector
- a removable and reversable side panel has been
added to the bolt carrier to seal the ejection port when the bolt is forward.
The bolt carrier has a design change to allow for this, so it will not be
compatible with the original MDR bolts.
- the barrel extension has been changed to allow
for a reversable side extractor. This makes Side Eject barrels specific to the Side
Eject bolt. The original MDR barrels and Forward Eject MDRx barrels will not
work.
- currently this is only available in .223 and
300BLK. Including the 20 inch barrels and compliant packages.
- to convert from Forward Eject to Side Eject will
require a barrel assembly, bolt and carrier assembly, and the Side Eject panel
and window.
I believe these changes both in price and with the updates are a great thing for this system. With the expected shipping being the end of SHOT Show, we will be taking orders through our online store. We also will continue to support this system with aftermarket barrels for the Forward Eject system as well as we will be working to get Side Eject barrels developed as quick as we can.
Orders can be placed through the links below.
Side Eject
https://www.es-tactical.com/store1/MDRx-Side-Eject-Factory-p168878153
Forward Eject
https://www.es-tactical.com/store1/MDRx-Forward-Eject-Factory-p168876076
All our cut rifling prefit barrels and our MDR barrels and conversions will be 10% off this month.
Use the code "10off" during checkout.
Products on sale are (Click for link):
|
We are adding a few products to our lineup. The one we are most excited for is a limited run of X-Caliber button rifled barrels. By ordering in volume we have been able to get the price on these down to $675 for a completed SRS barrel up to 26 inches in length. While we placed a large order, once the caliber and twist blanks are gone, they are gone until we are ready for the next bulk order. So if you have are looking for a great value for a barrel, don't wait!
https://www.es-tactical.com/store1/SRS-Conversions-Button-Rifled-p156753001
Also with the SRS we have added Proof Carbon barrels to the lineup. In order to keep prices on our carbon SRS barrels as low as possible, we are not going to keep blanks in stock. The cost to keep all the caliber, twists and lengths would cause us to have to increase the price to justify inventory. We will place the order with Proof Research for your blank upon you placing your order. They are currently running a 12 week turn around on barrels and then we will need 1-2 weeks to finish it. The expected turn around time for everything is approx. 16 weeks. If you have the time, these are a great way to go!
https://www.es-tactical.com/store1/Proof-Carbon-SRS-Conversions-p156705022
For the MDR we have recently introduced the 450 Bushmaster and 7.62 NATO to the lineup of barrels and are hopeful to be adding a few more calibers over the next several weeks. (Fingers crossed on the 350 Legend) These take a little longer to proof out before we release them, but keep an eye out on our Facebook page or in our online store for new offerings. We are also playing with longer barrel lengths to see how they hold zero over longer strings of fire. SBR configurations are also being worked on. We have also finally caught up on MDR barrel orders and should be able to have a much quicker turn around time now.
https://www.es-tactical.com/store1/ES-Tactical-MDR-Conversion-Barrels-p117204478
Not too much is new on the HTI offerings, but we have included the 338 and 375 EnABLR to the options. These cartridges were designed by Applied Ballistics specifically for Extreme Long Range shooting and competition. We have been very excited to hear how our barrels have been doing in the ELR world. Our cut rifle blanks are made by Ken at K&P barrels, and he is extremely well known and respected in the ELR and 50 Cal world. His barrels have not disappointed!
https://www.es-tactical.com/store1/ES-Tactical-Desert-Tech-HTI-Barrels-Conversions-p117204504
If you are looking to pick up a new MDR/SRS/HTI then we have several different combo packages available to help save some money getting into them. If you don't see something you are looking for, please contact us and we will see what we can do!
https://www.es-tactical.com/store1/Desert-Tech-MDR-Combo-Deal-p155966298
https://www.es-tactical.com/store1/Desert-Tech-SRSA2-Combo-Package-p137535158
https://www.es-tactical.com/store1/Desert-Tech-HTI-Combo-Package-p125446617